TUTORIAL: CREATING CIRCULAR IMAGES IN PHOTOSHOP
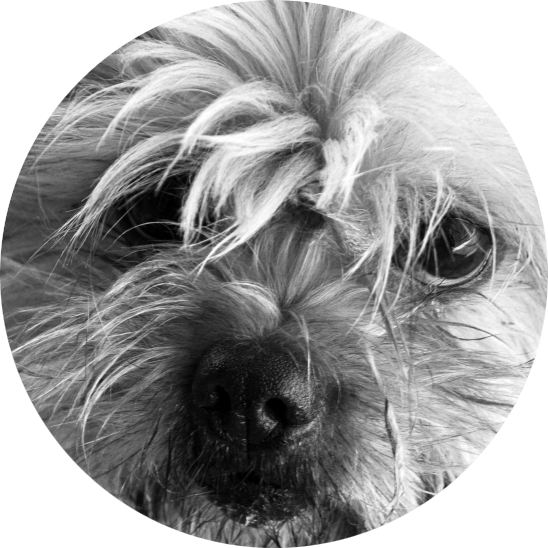
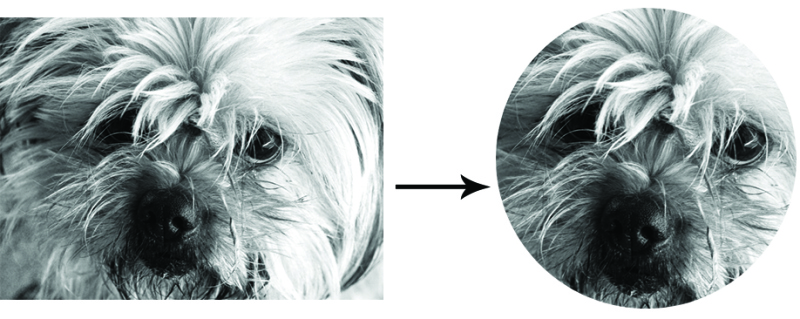
Using circular shaped images or graphics in a design, on your blog or within various social media platforms has quiet an eye catching effect and because of this is a great way to draw attention to your content and a useful skill to have. Cropping any shaped image into a circle is really simple to do and can be done by following these 6 simple steps:
** THE STEP BY STEP **
1. OPEN YOUR IMAGE IN PHOTOSHOP
First you will need to open your image in Photoshop. I edited the above image before cropping it. I find it a lot easy to do this before any cropping and recommend you do the same. Also be sure that any images are flattened before you begin any cropping/clipping.
2. SELECT THE ELLIPTICAL MARQUEE TOOL
Now you will need to select the Elliptical Marquee Tool from the toolbar. Ensure that the Feather Value in the top toolbar is set to 0px, the Anti-Alias is checked and Style is set to Normal.
3. DRAW YOUR CIRCLE
Holding down the Shift key drag your cursor to create a circle of your desired size. Use the Move tool (V) to position your circle perfectly.
4. REMOVE ANY EXCESS BORDERING
Whilst you circle is still selected click on Image then Crop. This will get rid of the any excess background area and create a square shape (providing your circle is completely round).
5. DELETE THE BACKGROUND
Double-click on the Background in your Layers Palette to turn your image into a free-floating layer. Leave the values at default and select OK. Now you will need to add a Vector Mask which will cause the area outside the circle to become transparent. Do this by Selecting the Add vector Mask Icon (it looks like rectangle with a circle in the center) in your Layers Palette and you’re done!
6. SAVE YOUR CIRCULAR IMAGE
Be sure to save your image as a PNG if you wish to keep the background transparent. Other formats like JPEG will automatically fill such background white.
& you’re done!
So there you have it a super easy method of creating circular shaped images in Photoshop. I hope you have enjoyed this tutorial and be sure to check out my others here. . Also, if you have any questions regarding this tutorial or any of the others free to comment or message me with them. I also take requests so if you’re curious how to do something let me know!


I remember when I was first learning how to do this and all of the tutorials online sucked. That was a year ago…haha Keep up the good work! PS I have your next post card going out next week!
Perfect tutorial! I love the analytic ones!
http://catswalldrobe.blogspot.gr/
Ohhhh I’m just teaching myself photoshop, shall be stalking these in a good not creepy kind of way