Tag Archives: DIY

Halloween DIY Project

13 Oct

HALLOWEEN ZOMBIE HAND DIY

Halloween is fast approaching and that means it’s time to get started on decorating. Today I have decided to share with you a little DIY for making zombie hands. These freaky little sculptures make great decoration for a food table and are sure to get your guests taking.

What to do: Mix you plaster with water as your chosen brand requires. Ensure all lumps are removed then using a funnel carefully pour the plaster into the rubber gloves. Push the mixture down to the finger tips ensuring all spaces are filled and there are no air bubbles, as these will cause the plaster to crack. Once filled tie off the wrists of the gloves tightly using your rubber band. Position your plaster filled glove over a jar, bottle of a stack of books so you get your desired arrangement and the fingers aren’t bent. Allow to set overnight before cutting off the glove using your craft knife.

Now it’s time to add the details to your hands. I used a craft knife and carefully engraved knuckles and lines into the plaster to make the hands seem slightly more realistic. Now using your paint, paint your hands your desired colour. I opted for a corpse grey for more creepy effect but green or nude would work too. You will need a few coats as the plaster tends to absorb the initial coat. If you have any small bubbles or holes in the plaster like I did needn’t worry, these can act as decaying flesh (Ewww! sorry) so paint around these red to simulate blood. Once you have gotten your desired effect allow your paint to completely dry . This part is optional. Using a hot glue gun or super glue attach fake nails to the fingers tips. I bent and cut the edges of each nail prior to attaching to create a worn effect.If you happen to try this DIY be sure to comment with a link to your creations I would love to see them. Becky xo

DIY Beauty

11 Oct

PUMPKIN SPICE SUGAR SCRUB

In honour of the pumpkin spice craze I decided to make my very own and easy to make Pumpkin Spice Sugar Scrub. In order to make your own simply combine 2 cups of granulated sugar, 2 tablespoons of pumpkin spice mix (you can view my recipe here), 2 teaspoons of almond essence with 1/2 a cup of almond oil. Mix until well combined and store in an airtight container or jar. Enjoy!

DIY Round Up

9 Oct

5 of the Best Doily DIY Projects

1. Doily Cones by Heart Made Blog
2. Doily Garland byGrace and Ivy
3. Doily Dream Catcher by Calico Skies
4. DIY Doily Bowls by Smiles Formmel
5. Doily Collar DIY by Wattle Bird

As a child I absolutely hated the crocheted doilies my mother had under ever pot and vase. But it’s true what they say peoples tastes change and mine obviously have. Today every time I go thrifting doilies are number 3 on my list of things I hope to find. I will admit collecting doilies has become a bit of an obsession and I have a hamper full. But instead of continuing to stash these babies away I have decided to make use of them and turn them into something new and fun. Here are a few of sweet little DIY’s from the web on my to-do list. What’s your favourite? Becky xo

Happy National Card Making Day!

6 Oct

HAPPY NATIONAL CARD MAKING DAY!

For those of you who don’t know today is the 7 th Annual National Card Making Day. You can view more information about the event here. To celebrate I have decided to make today’s post a combination of my top 5  favourite handmade card DIY’s as well as my own little project. To get things started here are my favourite 5 projects from across the web. Enjoy!

1. DIY Pop Up Cards from Oh happy Day
2. Spotted Gift Box Card DIY From Homespun with heart
3. Knitted Flower Cards from Ideas For Cards
4. Photo DIY Card by Ceria Design

5. Floral Map Pop Up Cards from Bour3

So there you have it 5 of my favourite card making DIY’s from the web. Inspired from my research and these great DIY”s I decided to create a card for a friend who is moving overseas to start her new career. I choose to use a few significant pieces to make up the card to make it be that little more special. Firstly I used a (fuzzy) Polaroid picture from our Byron Trip earlier this year, a map heart (as seen in my Garland DIY) to represent her travels, a butterfly to signify that she is finally free of her studies and a cute yellow bow to represent our friendship. Sweet or corny? I don’t know, but nevertheless I know she will love it. Here’s the final result;

Happy Card Making Day and be sure to share your creations! Becky, xo

DIY: Road Map Garland

18 Sep

MAP GARLAND DIY

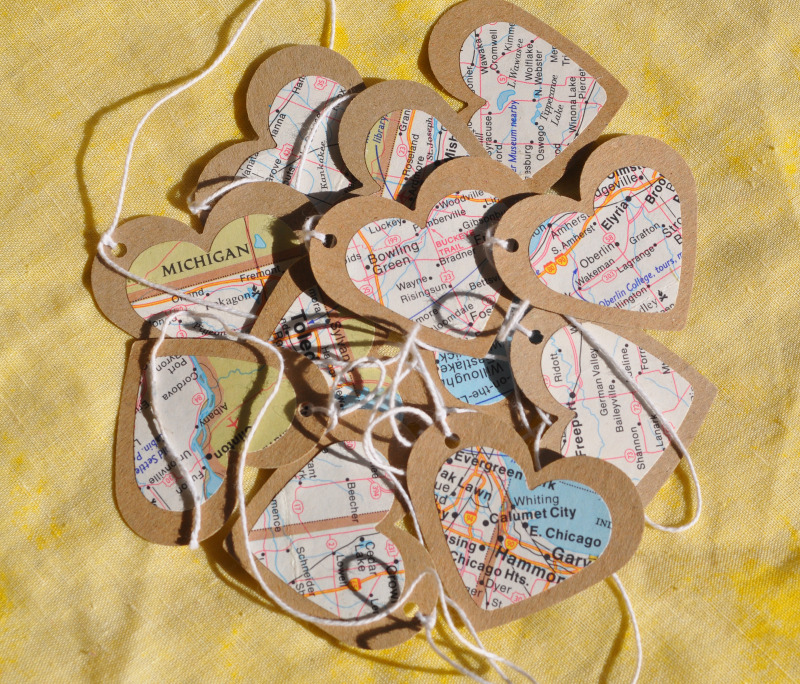
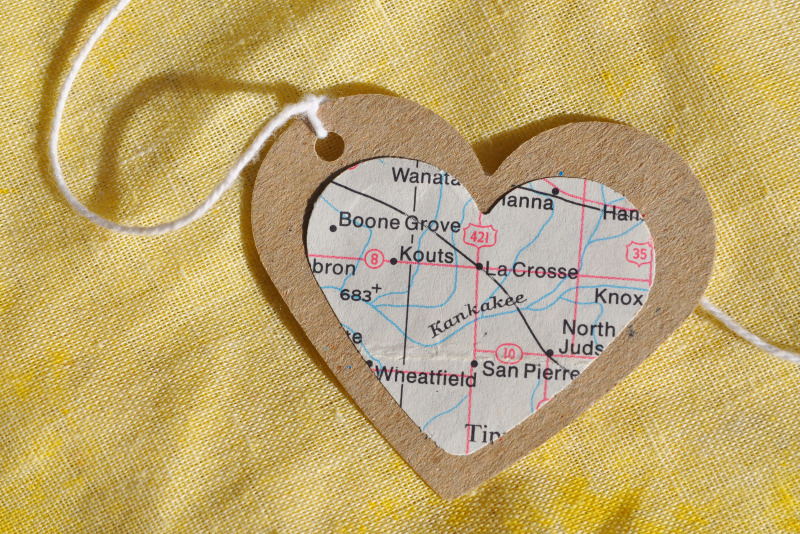
This super cute road map garland is so easy to make and a great way to make use of old cardboard boxes and maps. All you will need for this sweet little DIY is; an old map, a cardboard box or paper, twine, glue, scissors and a hole punch.

INSTRUCTIONS:

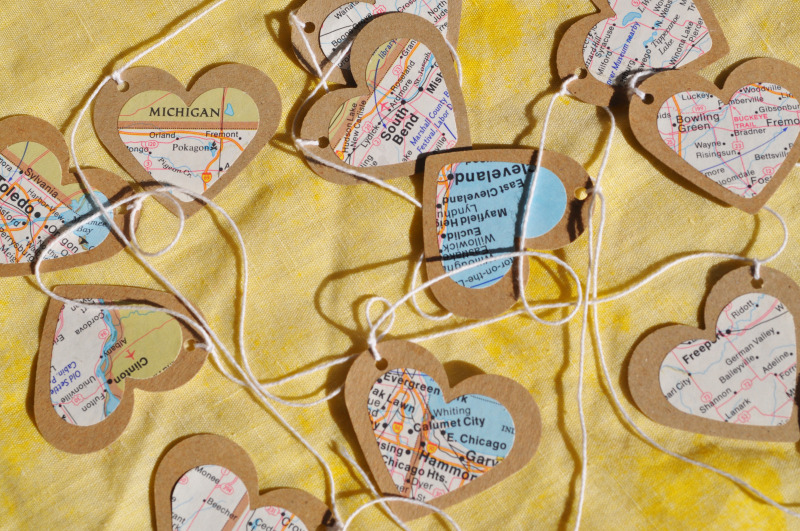
From your cardboard and map cut out the hearts for your garland. I did 12 of each. Ensure that the road map hearts are smaller than the cardboard hearts. Glue the smaller hearts onto of the larger hearts using a glue stick. Ensure that the corners are well pressed down. Now using a hole punch make a hole in the top left hand corner of the heart. Use your thread to join the hearts together by winding it through the hole punch holes and tying it off with a basic knot. Once you have connected all the hearts together you’re done!

THE FINAL PRODUCT:


Follow

Get every new post delivered to your Inbox.

Join 6,424 other followers