
CAKE MAKING: THE BASICS
Those who follow my blog probably already know that I love to bake and do so quite frequently. I started baking around 7 with my Grandmother and have enjoyed it ever since. I began using 99 cent supermarket brand cake mixes and as the years have passed have progressed into creating more and more extravagant cakes and cupcakes. Baking cakes is something I love to to do and although I am no expert, I have certainly learnt some things along the way. This knowledge isn’t due a lot of research or reading, rather a collection of baking disasters and a heck of a lot of trial and error. Today I have decided to share with you some of my tips and tricks to creating the perfect cakes and cupcakes. To shorten this already exceptionally long post I will be talking about frosting and cake decorating in a separate “Baking 101″ post, so stay tuned!
Preparation:
Preheat your oven. When you are ready to place your batter in the oven you want it to be at the correct temperature. This will ultimately allow your cake to cook more evenly and stop that awful doughy texture. Prior to cooking be sure to give your oven sufficient time to heat to your desired temperature. Pre-heating my oven is always the first thing I do when baking.
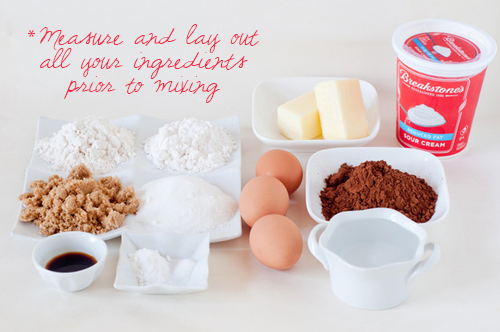
Be organised. I find my most successful cakes are those I took the time to prepare properly. If you are unfamiliar with a recipe I suggest measuring out all the ingredients required and retrieving all your utensils prior to starting anything. This will not only stop any frantic trolling through the cupboard mid-mixing, but will limit your chances of accidently omiting an ingredient (or two!) or doubling up on something. Cake Baking, like most things is always more successful when there is some form of organisation or strategy involved.
Prepare your pans and tins. Some cake batters start to sink and loose “air” if left to sit for too long. Because of this it is best to pour your batter straight into your tin then straight into your oven. To limit the time this takes you should always have your trays or tins pre-prepared. When greasing your tins you have a few options; butter, margarine, cooking spray or baking paper. I usually find a combination of cooking spray and baking paper the most effective and least messy option. But as long as you have sufficiently greased all the edges and corners of your trays any method should be fine. This article here shows you how to cut baking paper to perfectly fit both rectangular and square tins.
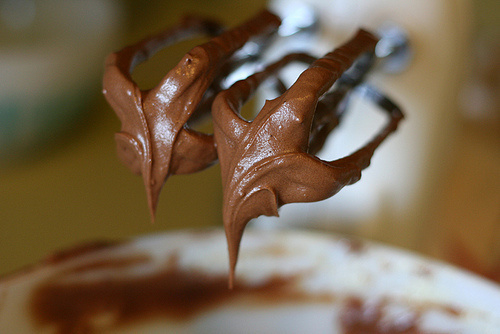
Now that your all prepared it’s time to get mixing and bake your batter!
Combining & Mixing:
Use ingredients that are at room temperature. Combining ingredients that are at room temperature will not only make it easier to fully mix them but also limits the risk of curdling, which can ruin a cake. I usually remove my chilled ingredients (milk, eggs, butter etc.) from the fridge at least 20 minutes before for I start baking.
Ensure you are using the right size bowls. When combining ingredients it’s important to use a bowl that is big enough to not only fit all your ingredients in it but give you sufficient room to mix them.
Cream your butter and sugar; don’t just mix it. Most cake recipes require you to include butter/margarine and sugar. When using these 2 ingredients in a cake recipe don’t simply stir or mix them together, cream them! Once you’ve successfully creamed together your butter and sugar, the mixture should have whitened and the sugar have completely dissolved. Creaming your butter and sugar usually results in a fluffier more flavoursome cake. So is well worth the extra effort.
Add any flavours and spices (eg: vanilla, essences, rinds, spices etc.) into the creamed butter not into the dry mix. This ensures these extra flavours are absorbed evenly throughout the mix and not just into a clump of dry ingredients.
Crack your egg(s) into a separate bowl or cup prior to combining. There is nothing worse then ruining an entire cake mix because of a spoiled egg. To ensure this doesn’t happen to you, crack your egg(s) into a separate container or cup before adding them into your mix.
Gently beat eggs with a fork or whisk prior to adding them to your mix. This will make it easier for the eggs to combine with the other ingredients and also limits the risk of curdling.
Sift your flours. Sifting your flour/s prior to adding them into your mix allows as much air as possible into the mixture and gets rid of any clumps. Sifting your flour results in a lighter and fluffier cake and is often the key to your cake rising.
Combine dry ingredients together with a whisk before adding them into your wet ingredients. This ensures a more even mixture and a better final result.
Fill your tins correctly. Cake tins should be filled around 1/2 full to 2/3 at the most. Over or under-filling your tins can greatly effect how your cake cooks and turns out. Incorrect filling can result in anything from burnt bottoms to the mixture overflowing.
Swirl your batter in the tin. Once you have poured your batter into your tin gently swirl the mixture so a ring above the level line is formed. When your cake rises this ring of batter will help create a nice even surface rather than that dome shape a lot of cakes have. This is a great tip especially if you intend to layer your cakes.
Cooking:
Ensure your oven is at the correct temperature. A lot of ovens run hot or cold, so it’s best to check your oven’s actual temperature with a thermometer and adjusting your dial accordingly.
Position your tins correctly in the oven. Always place your tins in the centre of the oven to ensure your cakes cook evenly. Do not place tins too close to one another or overcrowd the oven.
Rotate your tins. Every 20 minutes or so quickly spin your tin around. Do this without removing the tin from the oven and as quick as possible; you don’t want your oven to loose heat. Rotating your pans will help your cakes cook and rise evenly.
Check if cooked. Use a wooden or metal skewer to test if your cake is cooked. If the skewer comes out clean the cake is cooked, if there is batter stuck to it the cake needs to cook longer. When a cake is fully cooked not only will the skewer come out clean, but will spring back when the surface it touched. Most cakes also slightly come away from the edges of the tin when fully cooked. Note: Never remove a cake from the oven when testing and be as quick as possible. This limits the risk of your cake sinking and your oven loosing heat.
Serving & Storage:
Cut your cake using a hot knife. A hot knife will create nice even slices without excessive crumbling.
Allow you cake to cool completely before storing. Never store a hot or warm cake in a airtight container. If you do the cake will sweat and go soggy. Nobody wants that.
Allow your cake to stand in the tin for at least 10 minutes before attempting to remove it. Allowing your cake to stand in the tin will limit the chances of it splitting or crumbling when turning it out.
Allow your cakes to cool on a cooling rack off the bench level. I like to rest my cake and cooling tack on top of my metal tea cantister. This allows the air to circulate under the cake, which not only allows your cake or cupcakes to cool quicker but stops the bottom of the cake going soggy.
Store your cakes in an airtight container out of the sunlight or direct heat. Storage time depends on the type of cake you have baked. Most of cakes last about 3-5 days and freeze well.
Keep your un-iced cakes moist when storing. To keep your cake moist for longer and stop the edges drying out, place a few slices of apple around the outside border. Once you have done this wrap your cake in cling warp and store it in the fridge in an airtight container.
To few my other 101 posts click here.


so useful tips
http://great-secret-of-life.blogspot.com
Thanks Veena!
Checking out your blog now
Wonderful Tips. Will be helpful for many budding bakers.
Thanks Radhika
Great tips
Thanks Sarah I am glad you found them useful
thank you for the tips.. i don’t really bake that much and i’m still a beginner..i do have a lot to learn..thanks
thank you for the helpful tips.i’m still a beginner in baking.hope to learn more from you
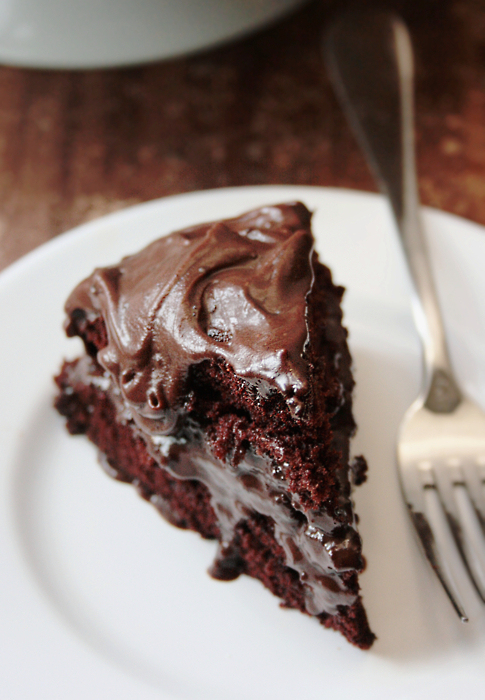
Your pictures are so clear! They make the cake look so yummy!
Thanks Jess